This is the continuation of the previous part of this tutorial [link] were we when over installation, basic settings, and package versioning.
Express: Setup
On the previous part [link], we showed the installation of the package Express. Express is a fast, minimalist web framework built for NodeJS.
First, we need to create a JavaScript file with the main part of our program. In this case, we create the file app.js with this line:
var express = require('express');
The method required give us a reference that points to the dependency package Express. However, this doesn’t provide us anything that we can use until we create an instance of Express.
var express = require('express');

var app = express();
Now, we can start working!
First Application
Lets build an application that listen to an specific port:
var express = require('express');
var app = express();
var port = 8100

app.listen(port, function(error){
  console.log("Running Server...");
  console.log("Port: " + port);
});
Go to the command prompt and run your application as follow:
C:\nodejs\projects\test>node index.js
Running Server...
Port: 8100
| icon-warning Use [Ctrl] + [C] to exit |
I agree. This isn’t very impressive so far. Don’t worry. We will add stuff into it to make it more appealed.
Right now, before we move on, lets us go over Execution Scripts.
Execution Script
If you open package.json, there is the following lines:
  "scripts": {
    "test": "echo \"Error: no test specified\" && exit 1"
  },
Each key-value under scripts, in this case “test” is the key and “echo \”Error: no test specified\” && exit 1″ is the value, is a command that can be use when using npm to run out application.
C:\nodejs\projects\test>npm test

> test@1.0.0 test C:\nodejs\projects\test
> echo "Error: no test specified" && exit 1

"Error: no test specified"
npm ERR! Test failed.  See above for more details.
Now, imagine that you create multiple js files, let’s say 100 js files. How people would know which one should they execute first? Well, we can use package.js to add our own key-value that points out which js file should be executed.
Add the following:
"scripts": {
  "test": "echo \"Error: no test specified\" && exit 1",
  "start": "node index.js"
},
Now, we can use npm start to run our application:
C:\nodejs\projects\test>npm start

> test@1.0.0 start C:\nodejs\projects\test
> node index.js

Running Server...
Port: 8100
First Application (Continued)
In order to interact with our application, we are going to need to introduce some entry point so there can be a communication.
Using the method “get”, we are going to provide a routing url “/” and the method that will be executed when we use such url.
This function will have two parameters, the first parameter will the the request and the second the response.
We get information from the request, and we provide information with response.
var express = require('express');
var app = express();
var port = 8100;
app.listen(port, function(error){
console.log("Running Server...");
console.log("Port: " + port);
});
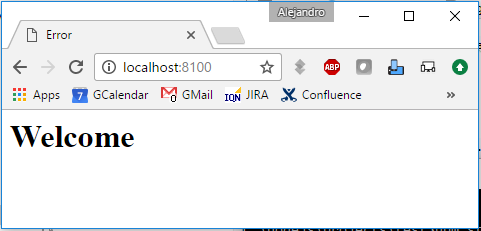
app.get("/", function(request, response){
res.send("<html><body><h1>Welcome</h1></body></html>");
});
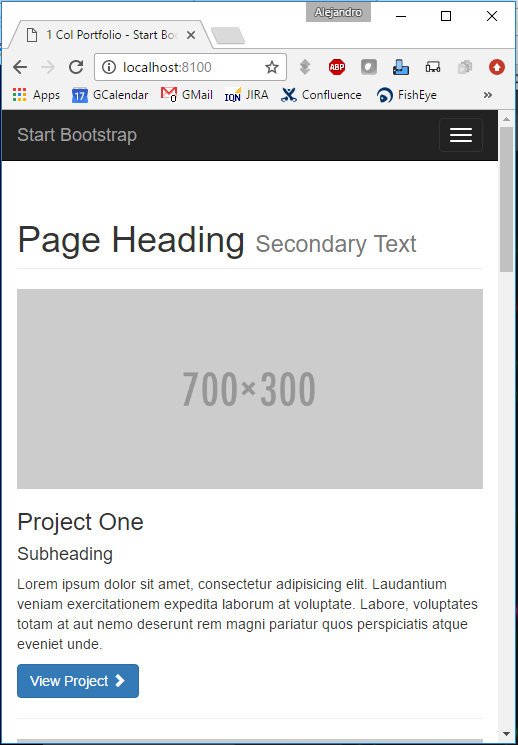
Now, lets run our application and open our browser. In our browser, we are going to use the following URL: http://localhost:8100/
You could add other URLs as you see fit:
app.get("/contact_us", function(request, response){
	res.send("<html><body><h1>Contact Us</h1></body></html>");
});

app.get("/feedback", function(request, response){
	res.send("<html><body><h1>Feedback</h1></body></html>");
});
In this way, we can do the routing to different responses based on the urls.
So far, so good.