If you wish to go to the beginning, were go over installation, basic settings, and package versioning, then go here [link]
This is the continuation of the previous part of this tutorial [link] were we when over installation, basic settings, and package versioning.
While NodeJS is great for REST calls using JSON, we are going to play with bootstrap templates. Later on, I will include a section focuses on REST calls.
There are different places were you can go to obtain open source templates such as Start Bootstrap [link], Bootstrap Zero [link], and Bootstrap Made [link]. Doing a search in you favorite search engine must pop many of them.
| Make sure to read the license of those templates. There are some of them that you can’t use for your purposes. |
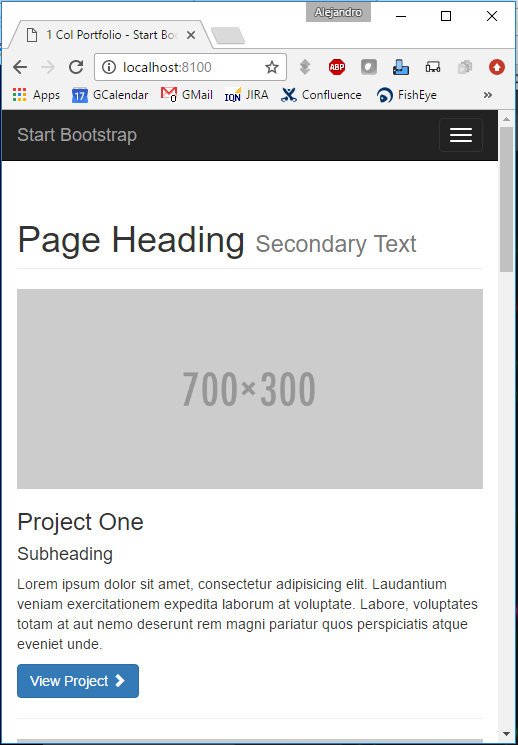
In this case, I went into Start Bootstrap [link], search for a single column template, and downloaded “1 Col Portfolio” [link]. Before downloading, I went into the source [link] and took a look to the LICENSE file. It seems that David T. Miller [link], the author of this template, was nice to use an MIT license. This license allow us to obtain a copy without restriction and limitations. Thanks David for your contribution.
So, we downloaded the zip file and unzip it. In the content, we have these files:
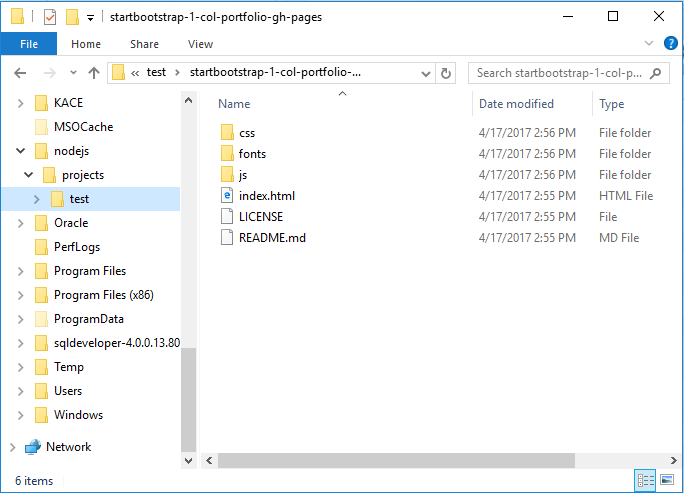
So, we need to move these files to locations were can be of our use.
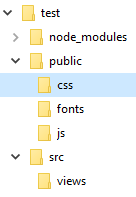
On the root folder of our application, I will create a public folder were I will move the css, fonts, and js folders. Also, I will create a src folder and inside a views folder were the index.html will be moved. The reason I am doing this is because that is the way I learned from the tutorial Building Web Applications with Node.js and Express 4.0 [link] made by Jonathan Mill [link]; however, you or your company may have a different way to do this. Now, that we have this in place, we need to do some routing.
Routing: Public Folder
Our public folder is were all our static CSS, JavaScript, and Fonts files are residing. We need to allow access to them in order to our website to work. This means that we need to do some routing in our part. In this case, we are going to set up our public directory as a static directory.
We are going to apply some middleware and set an static directory:
app.use(express.static('public'));
So any request made for anything in the public content, such as the css file, Express will take a look into that public directory and check if the static file is there and response its content.
Since we are at it, let’s do the same for our views:
app.use(express.static('src/views'));
Since these two lines are before our routing, Express will look into those static folders before executing any other routing we have.
If it find a static file, it will use that file, else it will continue with the routing we listed below.
Put this line before the routing lines:
var express = require('express');
var app = express();
var port = 8100;
app.use(express.static('public'));
app.use(express.static('src/views'));
app.listen(port, function(error){
console.log("Running Server...");
console.log("Port: " + port);
});
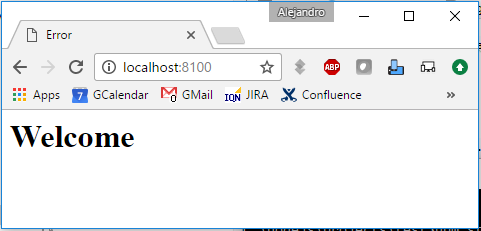
app.get("/", function(request, response){
res.send("<html><body><h1>Welcome</h1></body></html>");
});
If you run your application go to your browser and do http://localhost:8100/css/bootstrap.css, you will get the content of that file displayed in your browser.